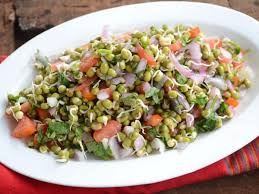
How to Sprout Mung Beans or Moong at Home. Making mung sprouts at home is easier and better than getting ready-made sprouts.

In this post, I am mentioning specifically sprouting moong beans at home. Soon a post will follow where I will mention Sprouting mixed beans. Mung beans sprout much faster as compared to other beans.
Was anyone else really big into sprouting beans when you were a kid? I’m talking about the whole put a bean on a damp paper towel inside of a zip-top bag kind of deal. I always loved doing that. I thought it was so much fun to see this little unassuming bean go from, well, a little unassuming bean into something alive and green. Once the beanstalk was a certain size, my parents would help me transfer the little dude into a pot with some soil and we’d continue to watch him grow.
Was anyone else really big into sprouting beans when you were a kid? I’m talking about the whole put a bean on a damp paper towel inside of a zip-top bag kind of deal. I always loved doing that. I thought it was so much fun to see this little unassuming bean go from, well, a little unassuming bean into something alive and green. Once the beanstalk was a certain size, my parents would help me transfer the little dude into a pot with some soil and we’d continue to watch him grow.
Benefits of sprouting
You don’t need any special equipment. And heck, you don’t even need a sunny window! Sprouts are a veggie that everyone can grow.
Aside from the fact that sprouts are an easy, cheap, and tasty vegetable anyone can grow, sprouting also has some real nutritional benefits. If you’ve ever had trouble digesting a particular grain or legume, I highly recommend trying it sprouted before writing it off together. You might be pleasantly surprised that sprouted beans or grains don’t bother your body! In general, sprouting also increases the vitamin C and B content and the fibre! Sprouts rock.
Safe to sprout
Well, the warm humid environment that sprouts grow in is also the prime climate for bacteria to spread. In large-scale commercial operations, it’s almost impossible to keep the environment clear from all types of pathogens.
Luckily for you, the chance of getting a food-borne illness with sprouts is greatly diminished when you sprout at home. Basically, I never buy sprouts from the store (or get sprouts from a restaurant), but I’ve been happily eating sprouts grown at home for a decade now without a lick of trouble. And if you’re still concerned, you can always cook your sprouts to put the final nail in the coffin of any leftover bacteria.
What can I sprout?
You can sprout almost any legume, seed, or nut. Everything from chickpeas to alfalfa to kale to onions to clover. There are a few exceptions—not because they won’t grow a sprout, but because the effort required to get it “right” isn’t really worth it or because they aren’t good for you.
Nuts like almonds don’t actually make sprouts, they make “soaks,” which is what it’s called when a seed doesn’t produce a root during the sprouting process. They are still delicious, and the soaking process helps break down the anti-nutrients and makes them a healthier choice. Then if you like, you can dehydrate them if you want crunchy snacking nuts.
Special sprouting seeds
Technically, no. You can walk into the grocery store and pick up a bag of lentils, and chances are, they’ll sprout fine. But, I recommend you buy sprouting-specific seeds for two reasons:
That bag of lentils you picked up from the grocery store? The packages that were assuming your plan was to boil them at high heat—which would kill any pathogens. Sprouting seed providers know that isn’t the plan for their seeds and adjust their growing and packaging processes accordingly.
Where do I get sprouting seeds?
My local health food store carries some packets of sprouting seeds, but the vast majority of my sprouting seeds I purchase online. But far and away, my favourite place to order sprouting seeds is Sprout People. They have an amazing selection of varieties, mixes, and tools. I’ve also been really impressed with their germination rates and how long the seeds stay viable. I have a few bags from them that are going on three years old—and they sprout just as well as they did the day I go them.
Do I need special tools?
Nope. To get started, all you need is a large clear jar (you don’t even need a lid), a small piece of natural, breathable fabric (cotton and cheesecloth both work), and a rubber band. That’s it. We tend to use wide-mouth quart Mason jars for most sprouts, but sometimes we’ll also do wide-mouth half-gallon Mason jars if we want a lot of sprouts. They do sell sprouting-specific jars, but honestly, they are a lot of markup for pretty much the exact same thing you get if you buy a Mason jar.
Can my fur-and-feather babies eat sprouts?
Oh, heck yes they can! Chickens, in particular, will devour sprouts like it’s their job (which it kind is—to turn those sprouts into my eggs for breakfast). During the winter, I like to grow a few batches of sprouts per month for the chickens to get them some fresh food. We like this bird mix from Sprout People and this foraging mix from Peaceful Valley. (we also plant that foraging mix).
Dogs and cats are less apt to eat seed sprouts themselves, but they do love themselves some wheat grass—which just means you need to let your wheat sprouts grow a little bit longer!
Can I make sprouted grain flour at home?
Sure, can. Follow the process below for whatever grain you want to use (wheat, rye, etc.), but only let your seeds just begin to sprout—you’re looking for at most 1/4” of a sprout. Then place them in a food dehydrator on the lowest setting until completely dry—about 24 hours. Grind a grain mill, and voila, homemade sprouted grain flour! You’ll probably want to do a larger volume of sprouts (using a half-gallon jar works) to make enough for baking.
Okay, how do I actually sprout
The sprouting process is a breeze. Let me walk you through it:
Soak your seeds
Set it aside to soak for the listed amount of time. A note about soaking: you don’t really need to stress about soaking precisely what’s listed in the chart. You aren’t going to mess your sprouts up if you soak for ten hours instead of eight.
Drain and rinse your sprouts
Once the soaking time is up, you need to drain your sprouts. If you have a sprouting lid, just tip the whole jar over the sink and let the water rush out. If you used the cloth method, remove the rubber band and cloth, and place a fine mesh sieve over the top of the jar. Invert it over the sink and let drain.
Then add more fresh, cool water to the jar, swirl it around a little bit, and rinse out that water. This tends to get a bit better of a germination rate for me. Then prop the jar, upside-down, in a bowl, like so:
It’s important to keep the sprouts draining nicely, and this little trick seems to do it well. Set it in an out-of-the-way-but-not-forgettable spot. It doesn’t need to have sunshine (although, it doesn’t hurt), but it does need to be able to breathe. So I wouldn’t recommend storing it in a cabinet. I just do my sprouts on my kitchen counter.
Rinse, drain, repeat.
Now your only job is to visit your sprouts twice a day (for most sprouts) and rinse them with fresh, cool water, drain, and prop them back up in the bowl (you might want to empty out the water that collected in the bowl at this point, too).
For most seeds, you’ll start to see little baby sprouts within a day or so. You can honestly harvest and eat your sprouts at any stage, but most folks prefer to harvest sprouts that are 1/2-2” long. Keep on rinsing and draining until you get to the length you want.
Harvest, store, and use your sprouts!
You’re ready to harvest…now what? Give your sprouts one final rinse and drain, then remove the jar lid and dump all the sprouts out onto a clean, absorbent kitchen towel. Spread them all out onto one layer and let them air dry for 30-60 minutes before storing.
To store: I like to line a glass food storage container with a clean tea towel (paper towels work too) and then put the sprouts in. Then I wrap the sprouts up and close the container. Extra moisture is the enemy of sprouts (and most produce—this trick also works with herbs, lettuces, and other greens). Store in the fridge for up to a week.
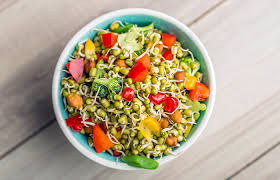
You can now use your sprouts in any way that pleases you. I love them on sandwiches, in wraps, on salads (or even as the entire base of a salad). Bean sprouts are great in stir-fries, frittatas, and scrambles. The possibilities are endless!
Rinse away the hulls
I almost never do this, but some people like to rinse away the hulls (the outer seed coatings) on their sprouts once the sprouts are finished. Here is a great tutorial for how to rinse away the hulls with a salad spinner.
Troubleshooting
Why do my sprouts always go mouldy?
Guess what? There is a very strong chance that your sprouts aren’t mouldy at all, you’re just seeing the fine root hairs that look A LOT like mould. Like, a lot, a lot. Root hairs start to show up when the sprout is at its driest (and that’s why you see them when you go to rinse your sprouts again). If you use clean seeds, a clean sprouted, and make sure air is circulating (don’t keep your sprouts in a cabinet), the chances of having mouldy sprouts are pretty slim. And yes, this applies to high-humidity climates, too. I’ve sprouted without mould even in those glorious 90%/90° Indiana summer heat waves.
How do you tell the difference between mould and root hairs? Well, when you rinse your sprouts, does all the “mould” magically disappear? If so, then it’s root hairs. The water makes the fuzz fall back against the main root until it dries out again. You can also tell because mould smells! Root hairs don’t. Use your sniffer.
Sigh. Fruit flies are a natural (and annoying) part of having fresh produce—including sprouts—in your life in the summertime. We use apple cider vinegar fruit fly traps to try to keep the population down, but just accept that we’re going to have some houseguests for the warm weather months. To keep fruit flies out of your sprouts, I recommend using the cloth method instead of sprouting lids. The cloth keeps the fruit flies out, but they can fly through the sprouting lids. If you do notice fruit flies flying in and out of your sprouts, I’d recommend composting the batch and starting again (although, I hear insects are a good source of protein…).
Again, use your sniffer! Bad sprouts smell “off” and rancid. Many sprouts will also start to rust right before they go bad—so if they don’t smell bad but suddenly look a bit rusty or brown, make sure to use them up that day. Happy sprouting!
The method that I am mentioning below is to sprout the moong/mung beans in a bowl or a container.
Take the amount of whole mung beans you want to be sprouted on a plate. Pick and clean the mung beans. Now wash the beans in water 3-4 times.
In a bowl take the mung beans. Add water and cover it up to 1 inch above the moong beans as shown in the pic.
When you see sprouts, think “nutrient dense”, that too in one small serving. Sprouts that bud from a seed hold the most nutrients because that seed has the power to grow into an entire plant eventually. It is rich in minerals, vitamins, enzymes, antioxidants, amino acids and several other nutrients making them burst with folate, magnesium, phosphorus, manganese and vitamins C, A, and K — however, it may vary based on the type of sprout. Nevertheless, every kind of sprout can be a super healthy addition to your daily meals.
Some benefits of sprouting/sprouts
– Since sprouting needs a good amount of soaking, it helps get rid of anti-nutritional factors like phytic acid thereby unlocking all the nutrients and making it more bio-available.
– It enhances the nutritional value of the seed. – It is super rich in live enzymes that can aid digestion and break down food more effectively.
– Sprouting can make a particular lentil or legume easy to digest. During sprouting, specific complex compounds are broken down into simpler forms and undesirable substances are rendered inactive which makes sprouts easily digestible. This is why sprouts are also called pre-digested food.
– Sprouting makes proteins easy to digest.
– Sprouts are rich in folate and can help boost haemoglobin levels.
– It is a great way to add fibre to meals.
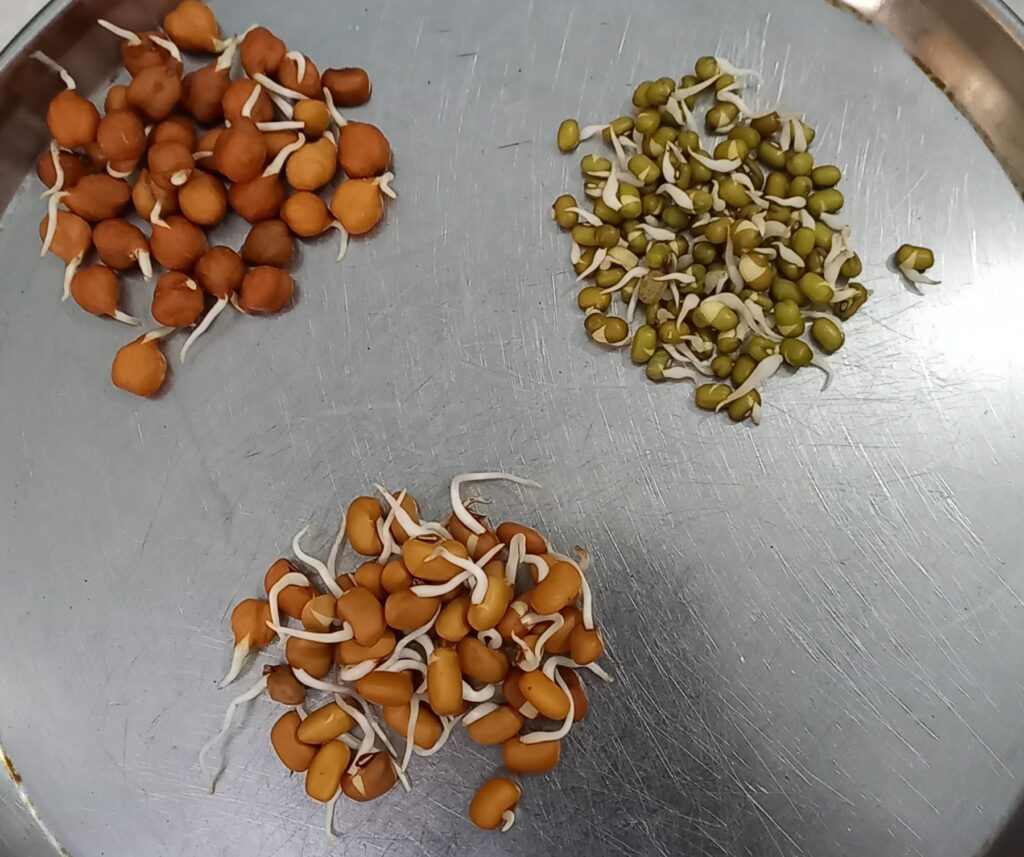
Types of sprouts?
You can practically sprout any seed. Green gram, chana, different types of beans, peas, fenugreek seeds,
alfalfa, lentils, nuts and seeds.
Having said that, there is one particular sprout from the Brassica family and that’s – broccoli sprouts! These are micro-sized, but bursting with nutrients and may need a separate article to name their benefits! But in a nutshell, it has magical benefits on the heart, immunity, detoxification, lymphatic system, allergies, asthma, stomach ulcers, inflammation and overall cellular health at a DNA level.
Ways to use…
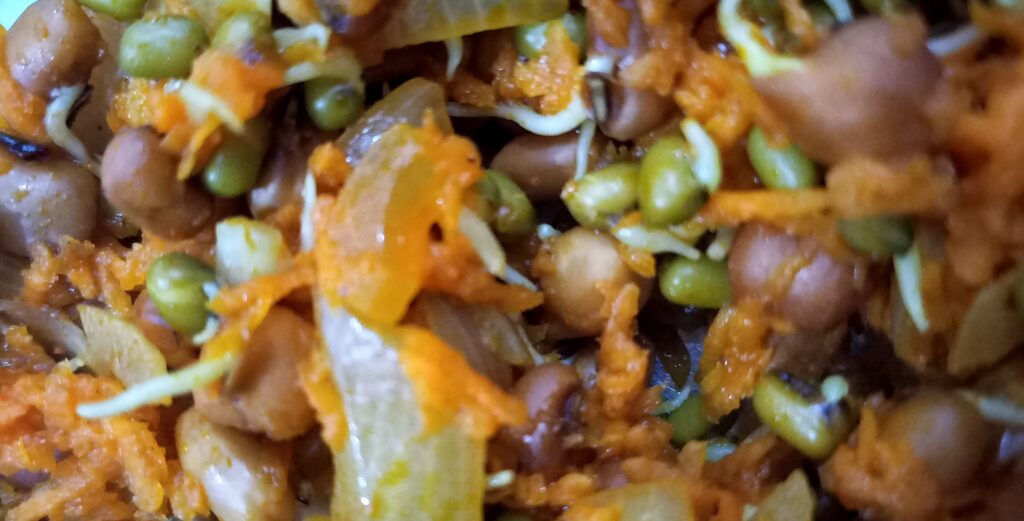
Sprouts can be had raw, lightly steamed, used as a stuffing in sandwiches and paranthas when mashed, churned into a batter for dosas, idlis, or added to soups, salads, plans, khichdi, stir-frys, tikkas.
Things to take care of:
– The seeds could attract fungal/mould growth so it’s necessary to be careful.
– Raw sprouts may not always suit you, especially if you have a weak digestive system. In that case, take them in a steamed or boiled form.